Best Practices for Pad Print Ink Mixing
The Best Way to Add Additives to Pad Print Ink
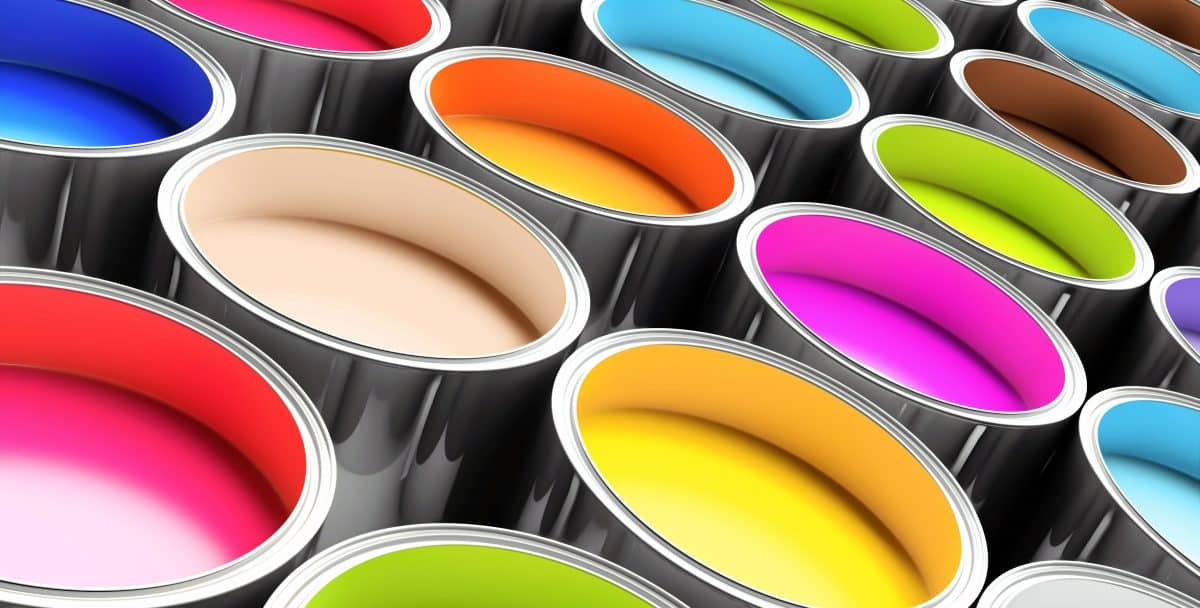
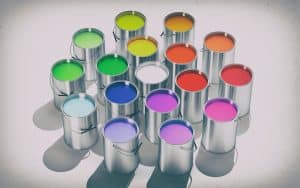
Pad Print Ink Mixing
This post will explore best practices for pad print ink mixing.
What are pad print ink additives?
For example- what is pad print ink hardener?

Pad print ink consists of both pigment and binder substances. The pigment provides visual impact while the binder ensures the ink can adhere to the substrate that is being decorated. Many additives can be added to basic pad printing ink to enhance performance.
Two of the most common types of pad print ink additives are hardener and thinner. Adhesion promoters and specialty additives are also common.
Pad printing ink hardener serves many functions. It can be used to:
-increase abrasion resistance
-enhance ink adhesion
-in some cases, to protect the ink from environmental impact or chemicals (like cleaning agents)
How do I select the best pad printing ink for my project?
Experts in the Trans Tech Ink Lab can identify the best formulation for your decorating needs after considering a wide number of factors, including:
- Substrate
- Industry
- Color
- Ink type (1 or 2 component or UV)
- Needed capabilities
- Adhesion requirements
- Abrasion requirements
- Opacity
- Printing speed
- Need for pretreatments
- Desired number of prints
How do I know if my pad printing ink needs any additives?

Your trusted pad print ink supplier should inform you of precisely which (if any) additives are needed to ensure optimal performance for your unique application. There are a few easy rules of thumb that can help as well:
1. Single Component Ink (PG type)
Never requires the use of a hardener
2. Two Component Ink (B Type)
AlWAYS requires the use of a hardener
3. Optional Ink (P Type)
Can be used with or without a hardener
What tools are needed for pad print ink mixing?
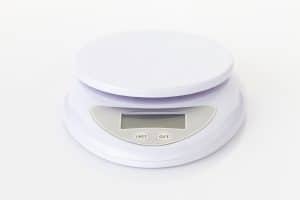
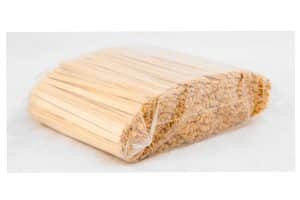
Very few tools are needed! Properly mixing pad printing ink takes just a moment and requires few tools. Plastic gloves can keep your hands clean. A nice long mixing stick (capable of reaching all the way down to the bottom of your ink can) is the only tool you need to quickly and effectively remix your pad printing ink. A small digital scale for weighing quantities will also be useful.
What is the best method for pad print ink mixing?
 Please see the top of this blog post for a three-minute video that includes a demonstration of how to prepare a two-ingredient ink by adding first pad print ink hardener and then pad print in thinner.
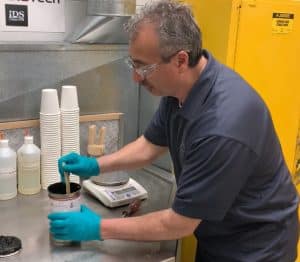
STEP 1 – Mix Pad Print Ink
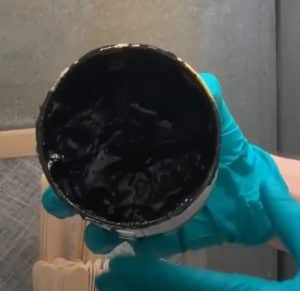
To prepare ink for mixing, you can rotate your ink can with one hand while you use a long mixing stick in your other hand to evenly distribute the binder throughout your ink. Be sure to push your mixing stick all the way down to the bottom of your can to ensure the pigment and binder are completely mixed throughout your ink can. Keep pushing your mixing stick all the way down to the bottom of your ink can and back up again as your rotate your can all the way around. In just moments you will have been able to force the binder back into the pad print ink pigment so that the ink you use will have the appropriate ratio of pigment to binder.
STEP 2 – Pour Desired Amount of Ink Into a Cup for Mixing
Put your cup on your digital scale and zero it out. Then carefully pour your ink into the cup. For the purpose of this demonstration, we poured 60 grams of 2-component pad printing ink. One pouring tip is to make sure you are not pouring from a point on the can where the label displays key information. Instead pour from the back side of a can where no key information is included on the label. This way, if any pad print ink were to spill as you pour it- you would not be covering key information on your can label.
STEP 3 – Add Pad Print Ink Hardener
The golden rule to adding pad print ink additives is to add them one at a time. In our demonstration- we start by adding hardener. Place your cup (now containing 60 g of pad print ink) back on your digital scale and zero it out again. The ratio of pad print ink to hardener will depend on your unique application- in our demonstration, it is a 4:1 so we added 15 g of hardener. Once the pad print ink hardener is added, mix it thoroughly throughout the ink using the method described in Step 1 above. Let the hardener set in the ink for about 15-30 seconds.
STEP 4 – Add Pad Print Ink Thinner
Place your cup (now containing 60g of pad print ink and 15 grams of pad print ink hardener) back on your scale and zero it out one more time. Now you are ready to add thinner. You can always ask your trusted pad print ink supplier for the proper ratio of ink, hardener to thinner you should use. For the case of the demonstration in our video, we added 10g of thinner to the cup. Then we mixed the cup thoroughly once again using a wooden stirring stick.
Summary
The best way to add additives to pad printing ink is to add them one at a time. Be sure to mix thoroughly after each additive is added using a stirring stick that reaches clear to the bottom of your paint container. Repeat this after every additive. Proper preparation of your pad print ink will help ensure highly repeatable, high-quality decoration.
Would you like to know more?
Please get in touch. We would love to hear from you.

Maurizio Caporali, Process Technician at Trans Tech, has over 36 years of pad printing experience. He has solved every possible type of printing challenge imaginable and is still inspired to help others succeed in their pad printing projects worldwide. His deep expertise encompasses the entire pad print process, including pad print machines and pad print consumables and how they best work together for optimal results.