Demonstration- Pad Print Consumable Set Up
How to Efficiently Set Up Pad Print Frames, Ink, Ink Cups, Liners & Printing Plates
What are the benefits of Sealed Cup pad printing systems?
Beginning in the 1980s- sealed ink systems became increasingly popular for their ability to provide a number of key benefits, including:
- Consistent ink viscosity control (less need to continuously add solvent)
- Up to 400% reduction in solvent use compared to open-well machines
- Up to 50% reduction in ink usage compared to open-well machines
- Reduced ink solvent smell
- Reduced ink contamination
- Eliminate mess
- Simplified changeovers (less operational expertise required)
- Fast changeovers (less time required)
The outline below highlights the steps for preparing a sealed ink system.
Step 1: Doctor Blade
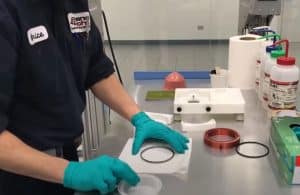
The doctor blade is made out of a carbide material and is both hard and fragile. When handling the doctor blade, it is a good idea to hold it over a table and to rest it on a soft surface (in our demonstration we used a few paper towels for this softer surface). The sharp side of the doctor blade should be facing downwards.
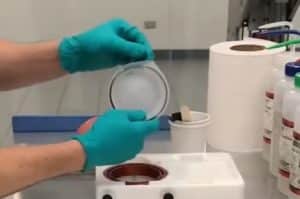
Step 2: Assemble Doctor Blade Into Liner
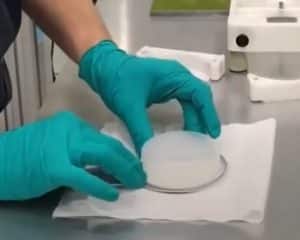
The liner is a plastic reservoir cup that holds the ink to be used. You will see measurement markings on the liner that indicate when the container is 1/4, 1/2, 3/4 and completely full. To add the liner to the doctor blade- simply face it upside down and push into the doctor blade so the two are joined.
The completed step will look like this:
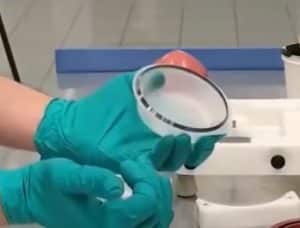
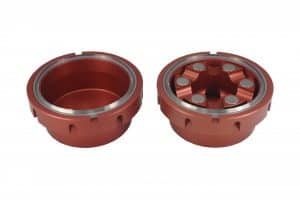
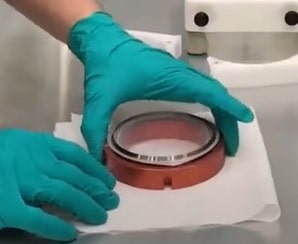
Step 3: Assemble Lined Doctor Blade into SpaceFrame
The next step is to simply place the rubber ring in the SpaceFrame ink cup for suspension.
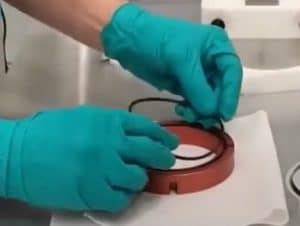 From there users can place the liner with doctor blade assembly into the SpaceFrame. The completed step will look like this:
<
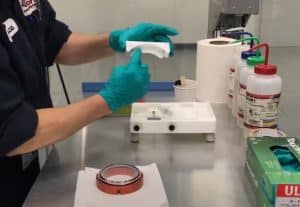
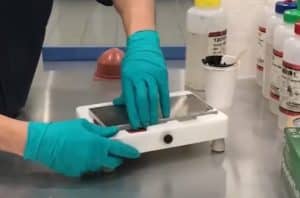
Step 4: Place Ink Cup On Set Up Table
Before beginning this step- it is key to insert the two magnets into your set table as pictured below. Make sure knobs on assembly table are loose.
 Now, paying attention to the pin settings (which will be lined up to the printer), you can place the SpaceFrame into your set up table.
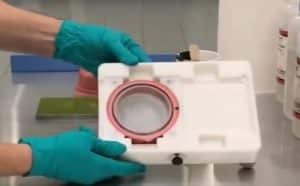
It is helpful to ensure the plastic tab on your ExpressLiner is facing the rear (for easier removal later) as pictured below. Then tighten the knobs on your set up table.
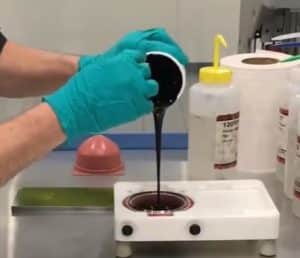
Step 5: Add Ink to Assembly
Make sure you have added the appropriate amount of ink thinner and any other ink additives required for your application to your ink. Then you can add ink into the liner on your set up table.
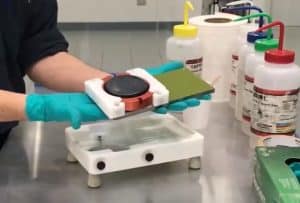
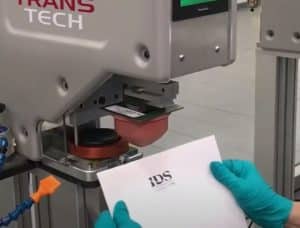
Step 6: Add Printing Plate to Assembly
Now you are ready to add your printing plate to the top of your set up table.
Loosen the knobs and you will be able to remove your assembly from the set up table. At this point- you are ready to load the assembly into your pad printing equipment.
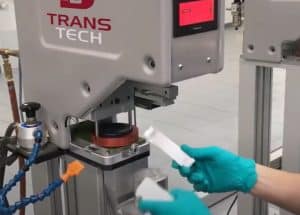
Step 7: Insert Assembly into Pad Printing Equipment
Before inserting your assembly into your pad printer machine, it is important to raise your safety guards as pictured below.
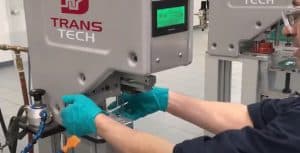
Then it is possible to load the assembly into the pad printer machine as shown below.
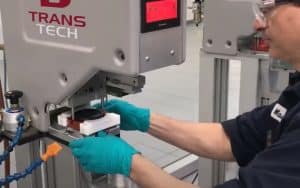
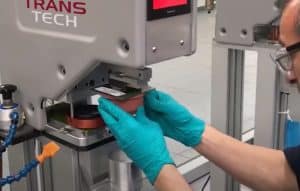
To lock the printing plate down, tighten the two sides that push the plate into the pins as shown in the image below.
It is essential to have pressure at all times, so before moving forward, make sure pressure is applied as it photographed below.
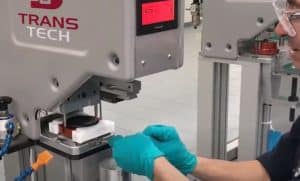
Now it is essential to remove the magnetic clamps (see image below) and lower your safety guards.
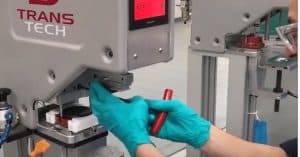
Finally it is time to add your printing pad (Trans Tech Express Pad pictured below).
You are now ready to print!
Would you like to know more?
Would you like additional information about Trans Tech pad print solutions? Please get in touch. We would love to hear from you.

Maurizio Caporali, Process Technician at Trans Tech, has over 36 years of pad printing experience. He has solved every possible type of printing challenge imaginable and is still inspired to help others succeed in their pad printing projects worldwide. His deep expertise encompasses the entire pad print process, including pad print machines and pad print consumables and how they best work together for optimal results.